Email Integration with Amazon SES
Amazon SES is a high-performance, cost-effective cloud email service optimized for sending transactional emails in the Rookwork project.
Step 1: Verify Domain Identity on Amazon SES
- Search for Amazon Simple Email Service (SES) on the AWS Console.
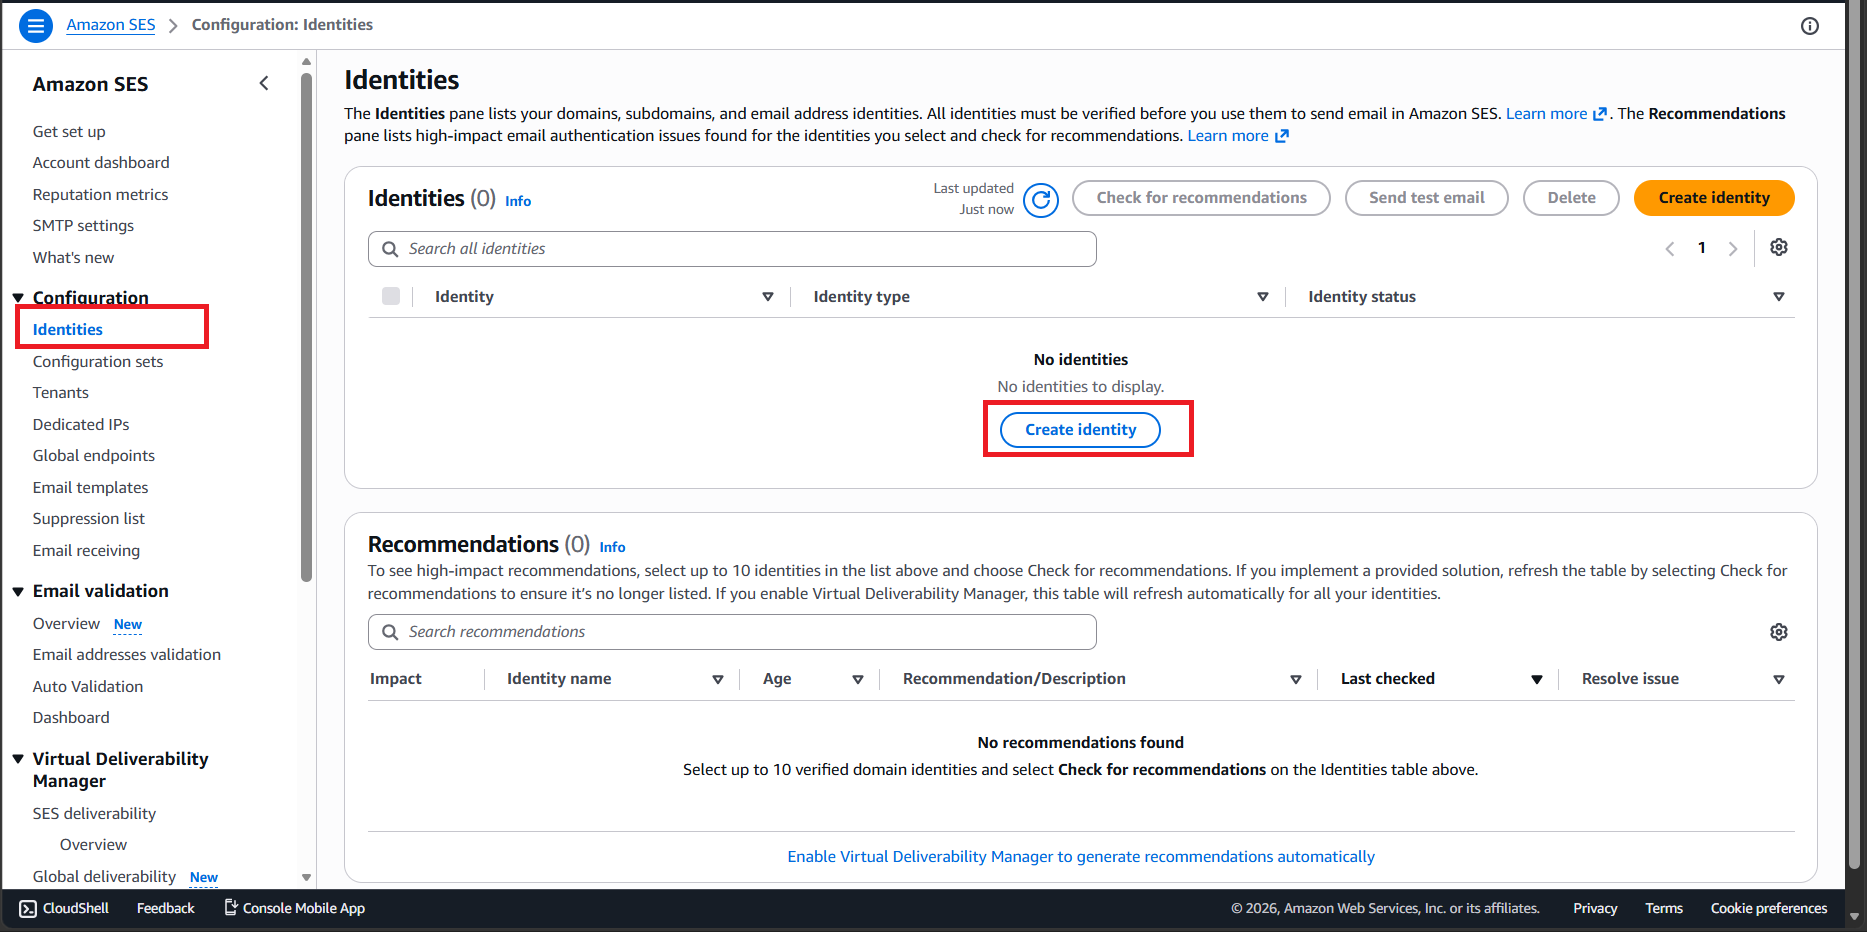
- Under the Configuration menu, click Identities, then click Create identity.
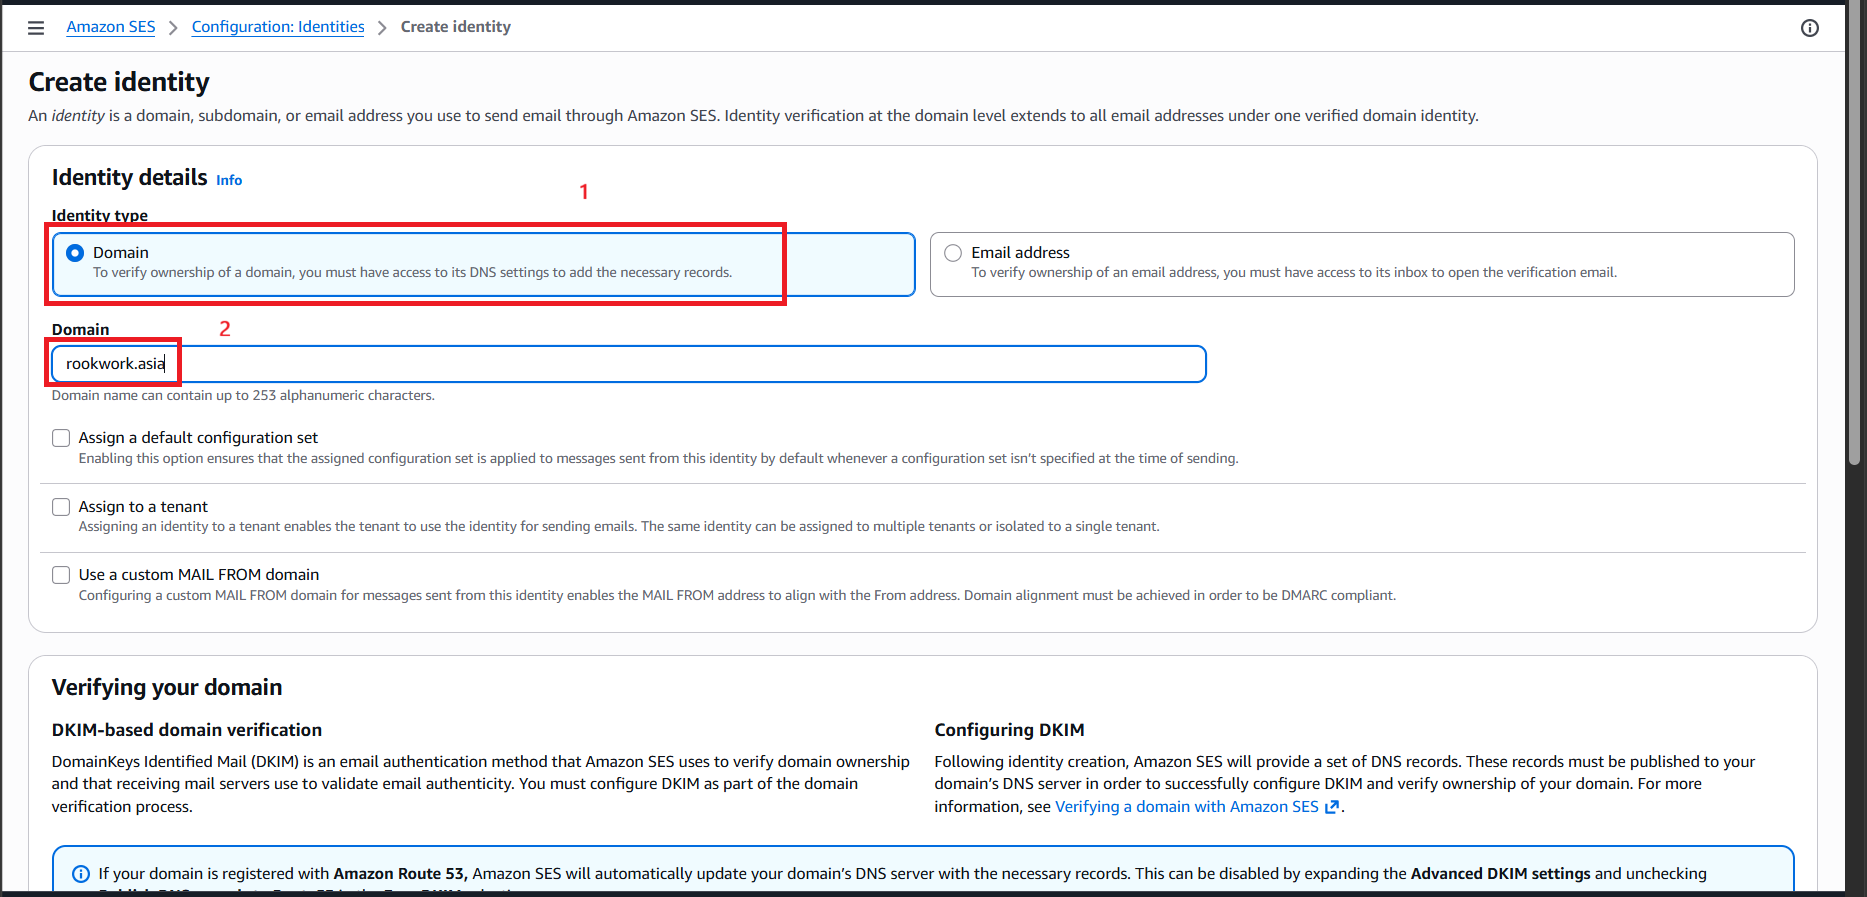
- Select Domain (Recommended when you own a custom domain):
- Domain: Enter your custom domain name (e.g.,
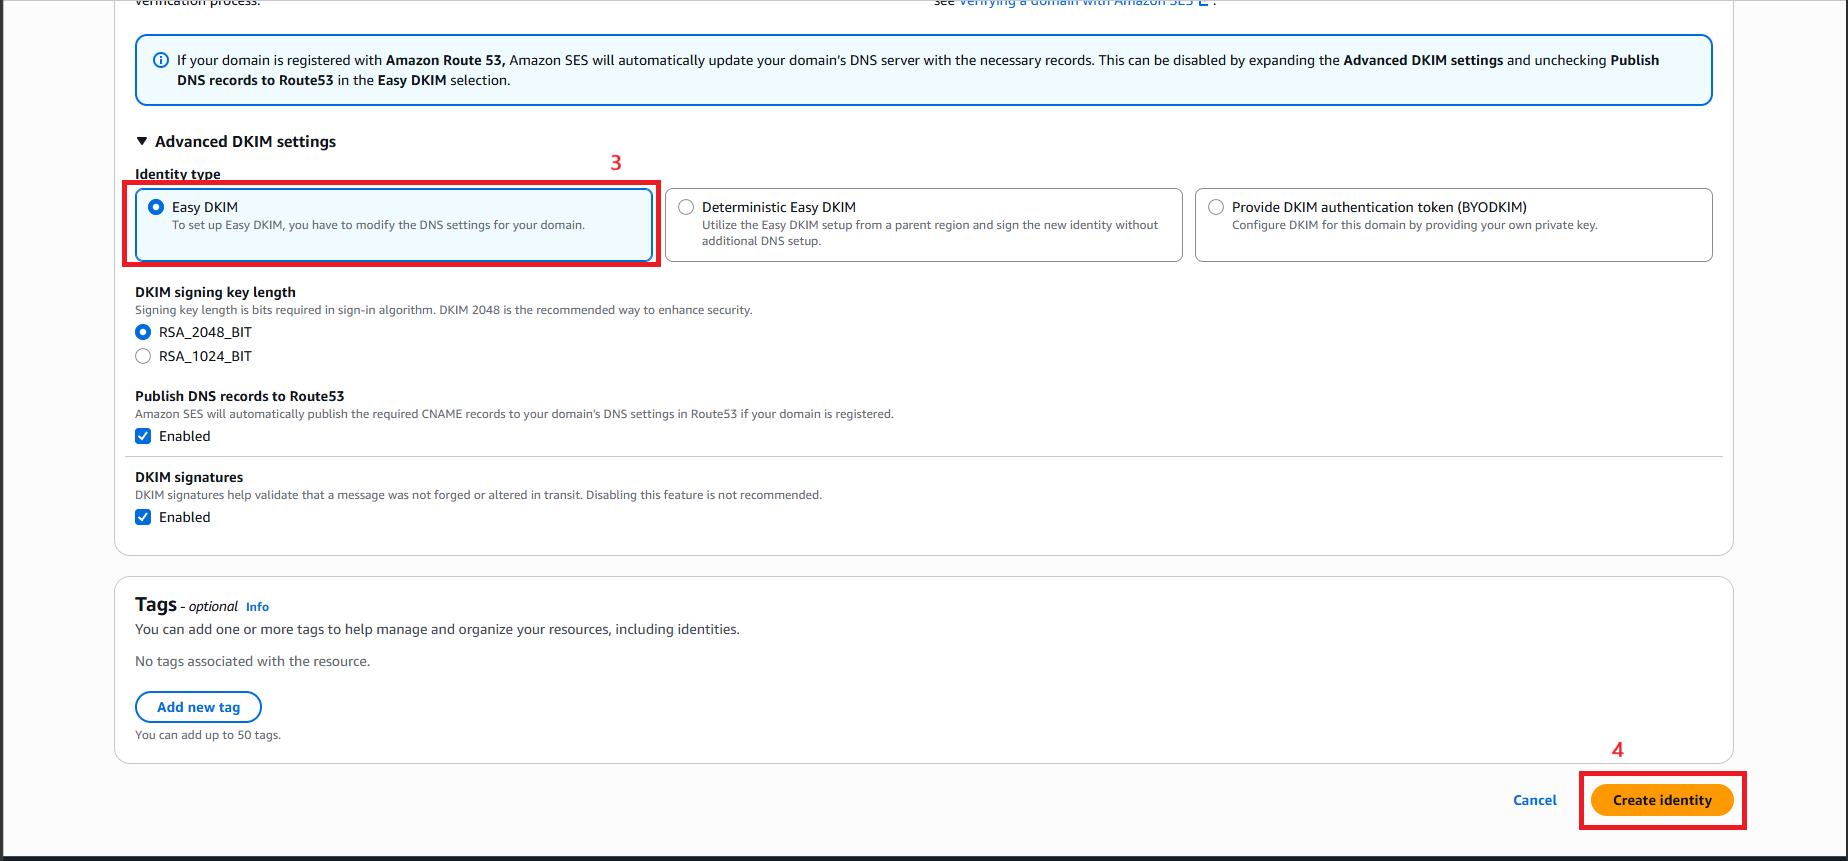
rookwork.asia). - Easy DKIM: Enable and leave default settings to authenticate your identity reliably.
- Domain: Enter your custom domain name (e.g.,
- Click Create identity.
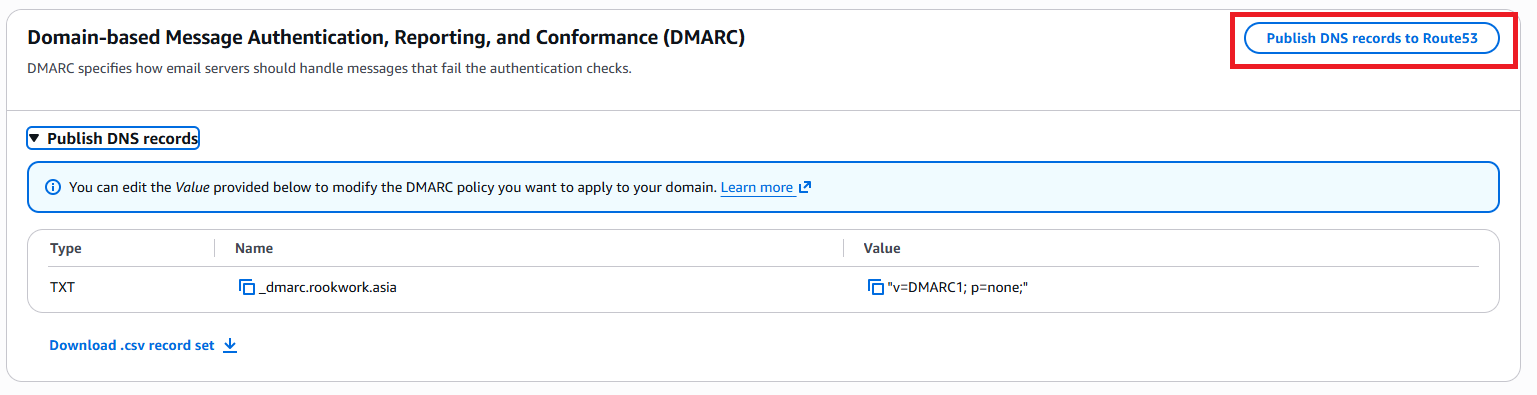
- The system provides CNAME records for DKIM setup. Click Create records in Route 53 to automatically add these DNS records to your Hosted Zone.
- (Note) By default, new SES accounts are placed in the Sandbox environment. You must verify a separate Email address identity (such as your personal email) to act as a recipient for testing emails during development.
Step 2: Create SMTP Credentials for Spring Boot
- On the left menu of SES, select SMTP settings.
- Click Create SMTP credentials.
- Name your IAM user and click Create.
- Copy and store the generated SMTP Username and SMTP Password securely.
Step 3: Configure Spring Boot Backend for Email Delivery
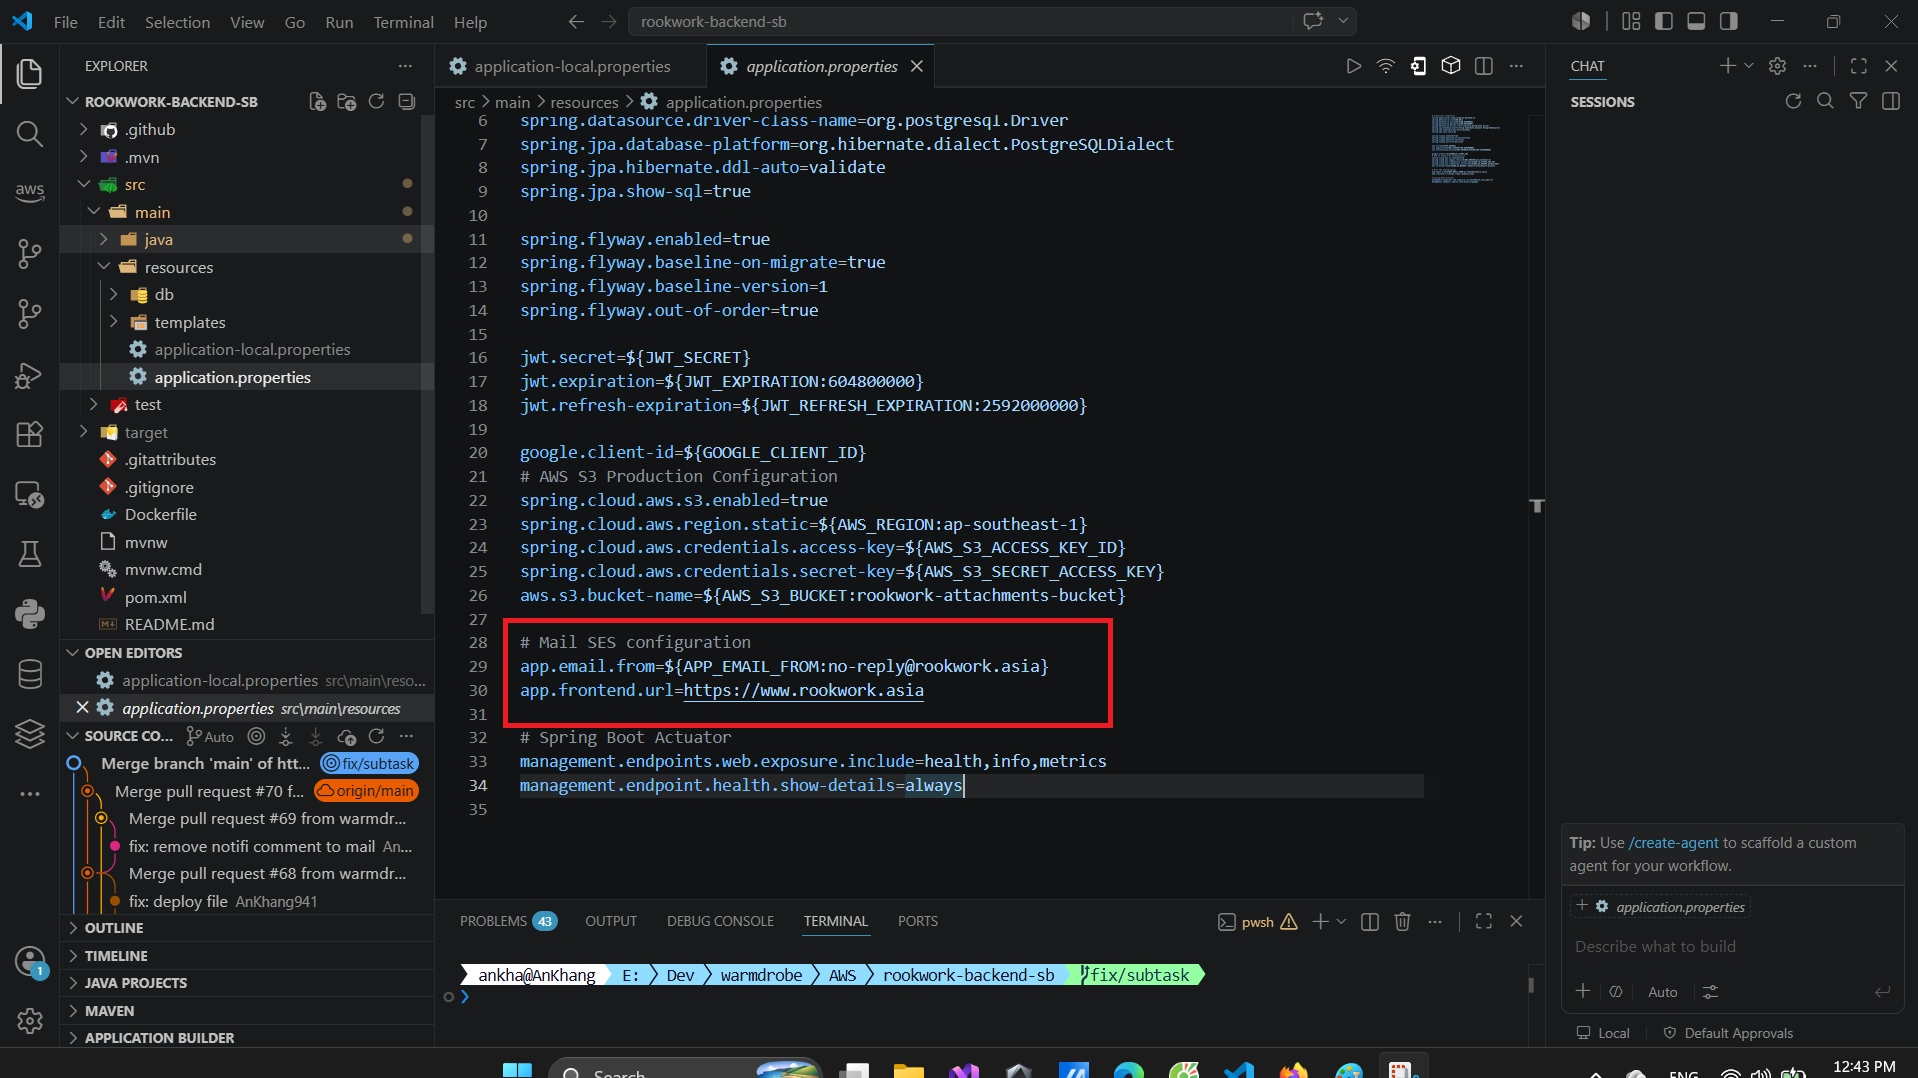
In the Rookwork backend application (rookwork-backend-sb), configure secure SMTP connection parameters using system environment variables (.env file):
spring.mail.host=email-smtp.ap-southeast-1.amazonaws.com
spring.mail.port=587
spring.mail.username=${SMTP_USERNAME}
spring.mail.password=${SMTP_PASSWORD}
spring.mail.properties.mail.smtp.auth=true
spring.mail.properties.mail.smtp.starttls.enable=true
Use the JavaMailSender class to write an email service to deliver verification OTPs for registration, password recovery, and invitations to join collaborative workspaces.
After completing all AWS Core services integration, proceed to 5.8. Deploy Frontend CI/CD with GitHub Actions to complete the frontend deployment automation.